In this complete guide, you’ll learn exactly how to melt glass bottles safely from your own workspace. We will cover the essential kiln equipment, how to prevent thermal shock, and the step-by-step techniques needed to transform ordinary trash into beautiful, fused art.
Bottle Slumping and Melting
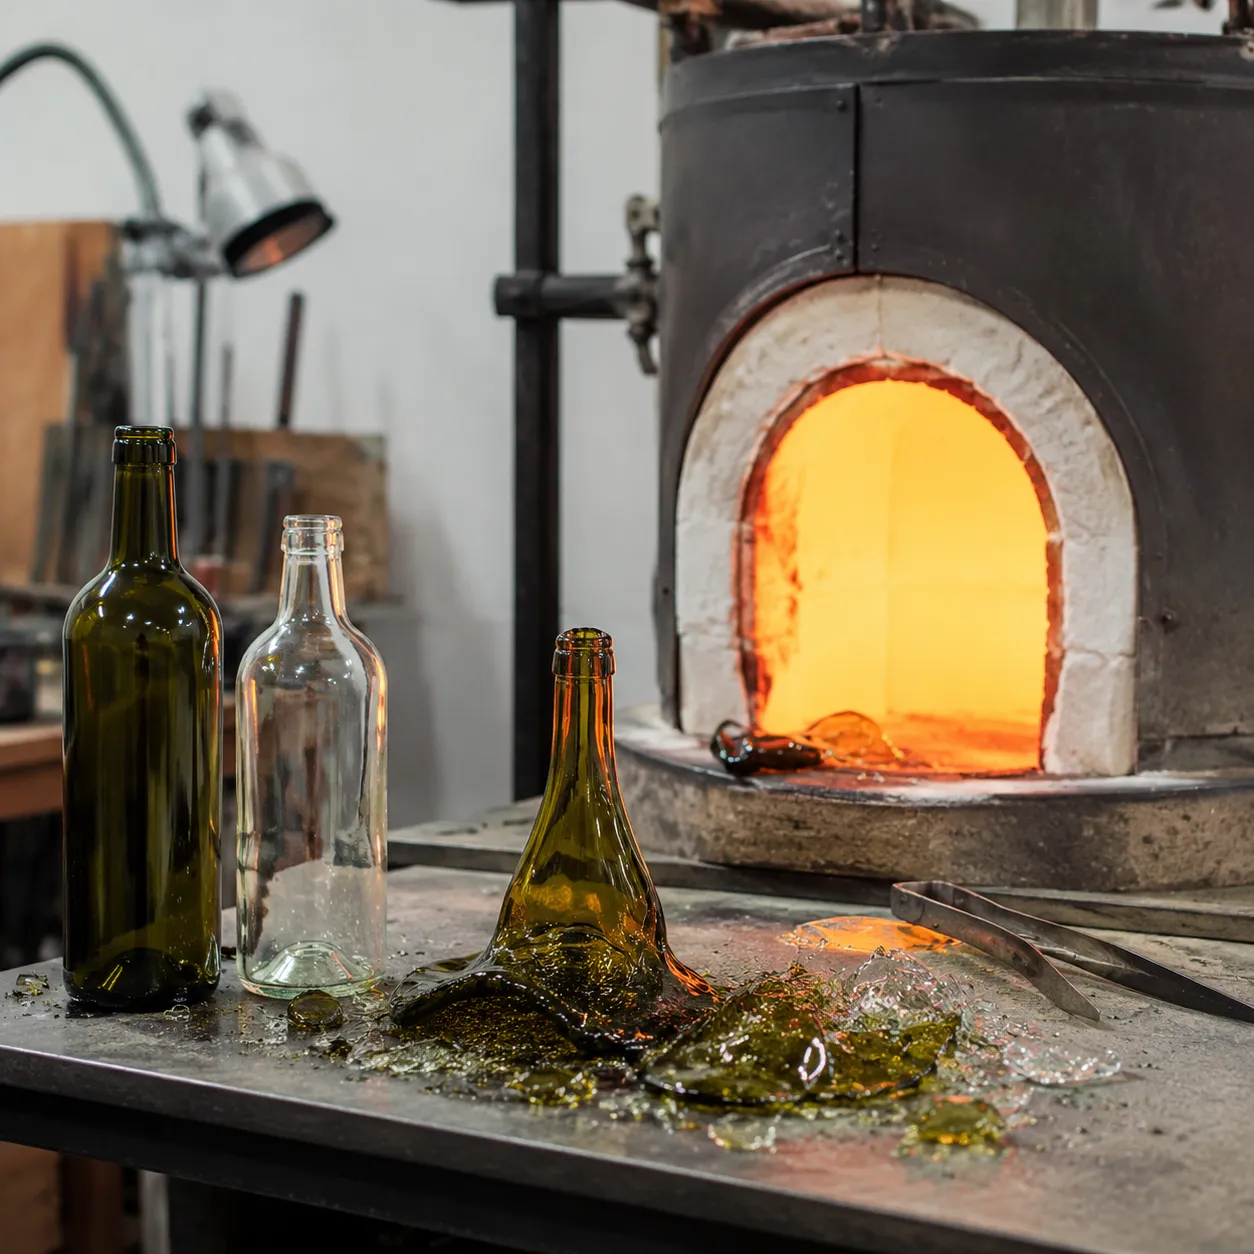
Bottle slumping and melting is the artistic and industrial process of using intense heat to reshape discarded glass containers into functional decor, tableware, or art. Slumping specifically refers to heating glass until it becomes soft enough to bend, sag, or conform into a specific mold. Complete melting goes a step further, liquefying the glass completely so it fuses together or flattens entirely. For a glass jars manufacturer and supplier focused on sustainability, this process represents a powerful way to upcycle bulk glass waste into high-value, wholesale-ready consumer goods.
The Science Behind Melting Glass
Glass does not have a sharp melting point; instead, it transitions through a gradual softening range as the temperature rises.
-
- 700°F – 1,000°F (371°C – 538°C): The glass enters the stress-relief stage.
- 1,100°F – 1,300°F (593°C – 704°C): The glass softens. This is the ideal range for slumping over or into a mold.
- 1,350°F – 1,450°F (732°C – 788°C): The glass begins to fuse and flatten completely, losing its original bottle shape.
Controlling the ramp rate—the speed at which you alter the heat—is critical to preventing thermal shock and structural failure.
What Types of Glass Bottles Can You Melt?
Nearly all commercial glass packaging can be melted down, but different containers yield different results. When sourcing materials for high-volume or wholesale production, look for these common options:
-
- Wine and Beer Bottles: These feature thick, consistent walls, making them highly durable and ideal for heavy-duty serving trays.
- Soda and Spirit Bottles: These offer vibrant colors like emerald green, cobalt blue, and amber, which add exceptional aesthetic value to finished products.
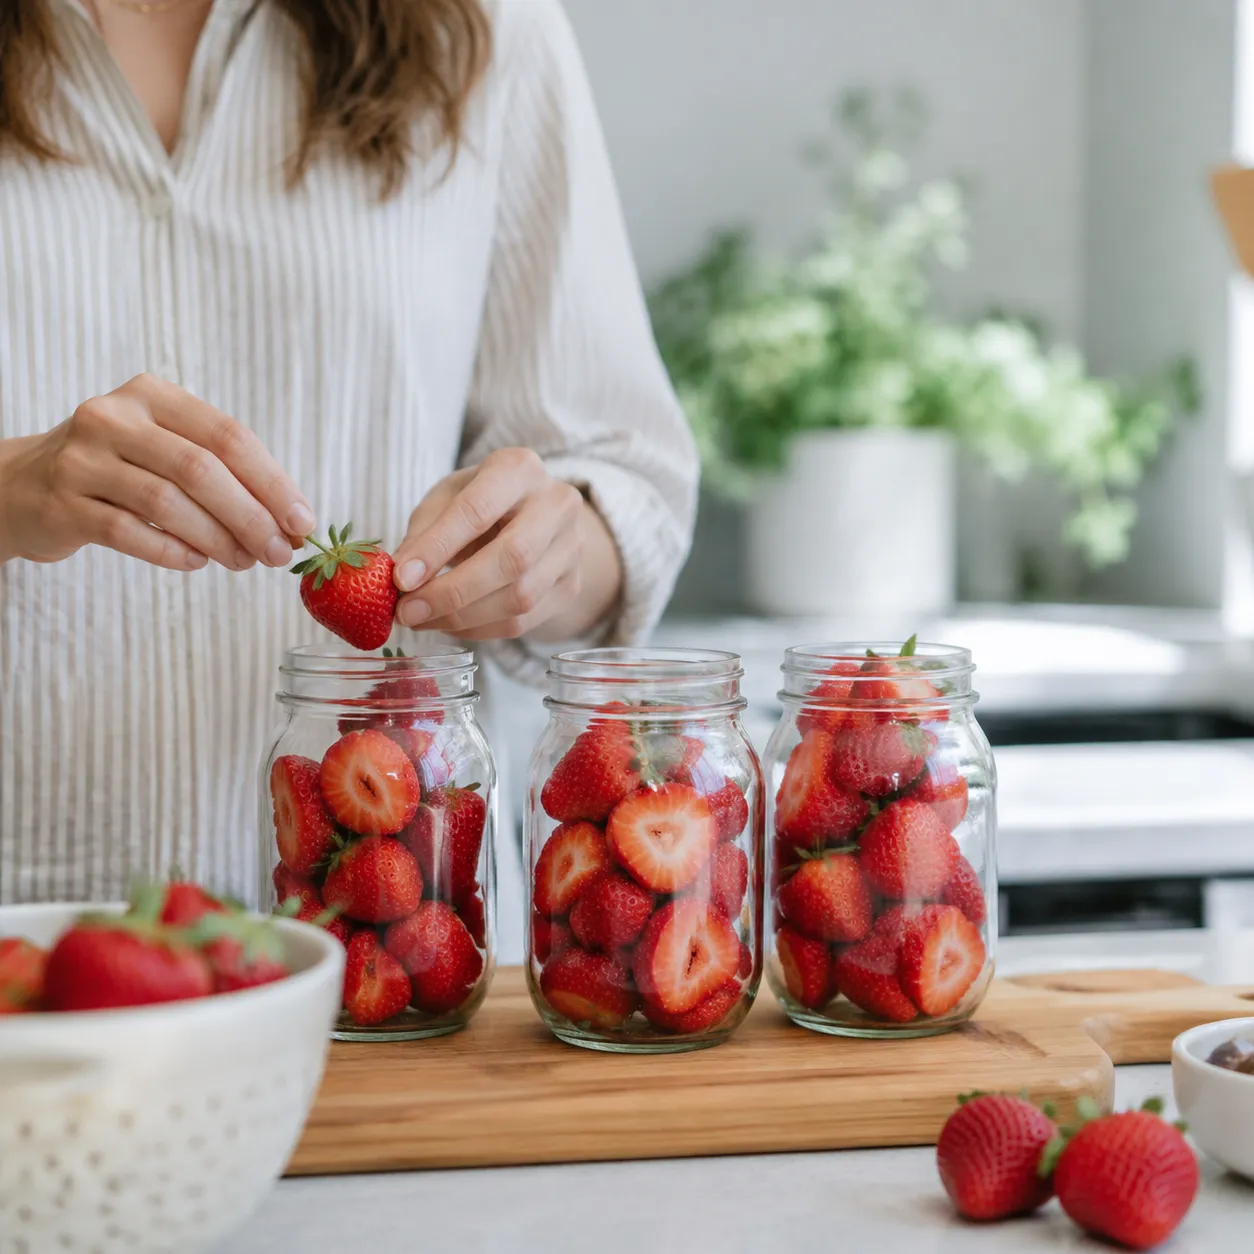
- Food Jars: Standard sauce jars and the best spice jars can be flattened into unique coasters or small dishes, provided they are thoroughly cleaned of all food residue and adhesive labels.
Understanding Glass Compatibility
Before firing multiple bottles together in a single kiln load, you must understand the Coefficient of Expansion (COE). COE measures how much glass expands and contracts when heated and cooled.
| Glass Type | Typical COE | Compatibility Rule |
|---|---|---|
| Soda-Lime Glass (Commercial Bottles) | ~85 to 90 | Never mix different brands or types of bottles in one fused piece; they will stress and crack. |
| Borosilicate Glass (Labware/Artisan) | ~33 | Completely incompatible with standard bottle glass. |
| Tested Fusing Glass (Bullseye/Oceanside) | 90 or 96 | Designed specifically for compatibility, unlike salvaged commercial bottles. |
Pro Tip: To avoid cracking and structural failure, always melt glass from the exact same manufacturing batch together. If you are recycling random beer bottles, fire each bottle individually to guarantee a flawless, stress-free finish.
Essential Equipment and Tools Needed
To successfully melt glass bottles, you need a controlled setup that can handle high thermal stress. Standard kitchen ovens cannot reach the temperatures required to alter the structural state of glass.
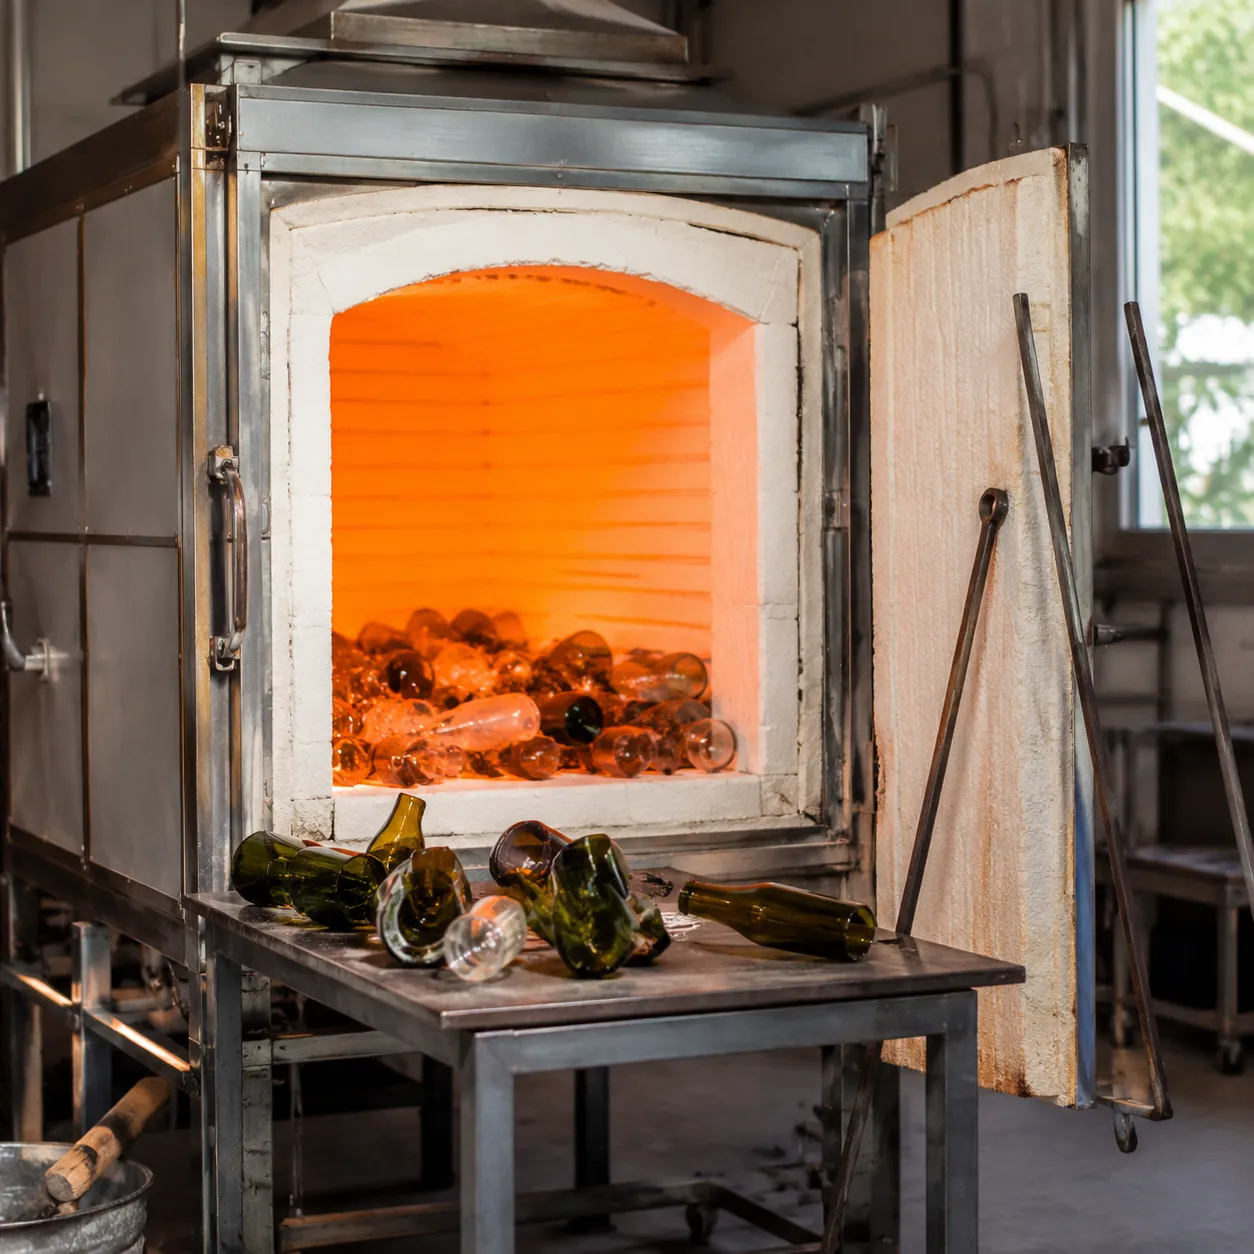
Choosing the Right Kiln for Glass
A dedicated kiln is the most critical investment for melting glass bottles. While ceramic kilns can work, a glass kiln with top-heating elements provides the even heat distribution necessary to prevent uneven expansion. For small-scale operations or crafting individual custom pieces, a small tabletop kiln is highly efficient. Larger bulk projects require a digital controller to precisely manage the heating and cooling stages.
Can You Melt Glass Bottles in a Microwave?
Yes, you can melt glass bottles in a household microwave, but only by using a specialized microwave kiln. These small, insulated containers absorb microwave radiation and concentrate the heat inside a tiny chamber.
-
- Best for: Small glass jewelry fragments, frit, or glass beads.
- Limitations: You cannot melt or slump a full-sized beer bottle or wine bottle in a microwave kiln due to strict size constraints.
- Safety note: Never place raw glass directly into a microwave without the proper kiln containment setup.
Molds and Kiln Accessories
Shaping melted bottles requires heavy-duty accessories that can withstand extreme heat without fusing to the project.
-
- Ceramic and Cast Iron Molds: These give the slumping glass its final shape, turning old bottles into trays or bowls.
- Kiln Wash (Primer): A protective refractory coating painted onto the mold surface. This prevents the hot, pliable glass from permanently sticking to your equipment.
- Fiber Paper: Used as an alternative separator layer between the glass and the kiln shelf for a smoother textured finish.
Understanding how raw materials tolerate thermal stress is essential for successful upcycling. For instance, exploring the production process of glass bottles and glass jars helps clarify how commercial glass is initially cooled and why precise temperatures matter during the re-melting phase.
Glass Cutting and Finishing Tools
Before loading your bottles into the kiln, you must prepare the physical form.
| Tool Type | Primary Function | Why It Matters |
|---|---|---|
| Bottle Cutter | Scores clean lines around cylindrical glass shapes. | Ensures predictable breaks instead of jagged shards. |
| Glass Nippers | Trims away small, unwanted sections of glass. | Perfect for detailed shaping and resizing fragments. |
| Diamond Hand Pads | Sands down sharp edges after the breaking process. | Protects your hands and ensures a clean, professional finish. |
Important Safety Precautions Before You Start
Working with heat high enough to melt glass bottles requires absolute respect for the process. Safety isn’t a suggestion here—it is the foundation of a successful project. Before turning on your equipment, you must prepare your body and your workspace to handle extreme temperatures and sharp materials safely.
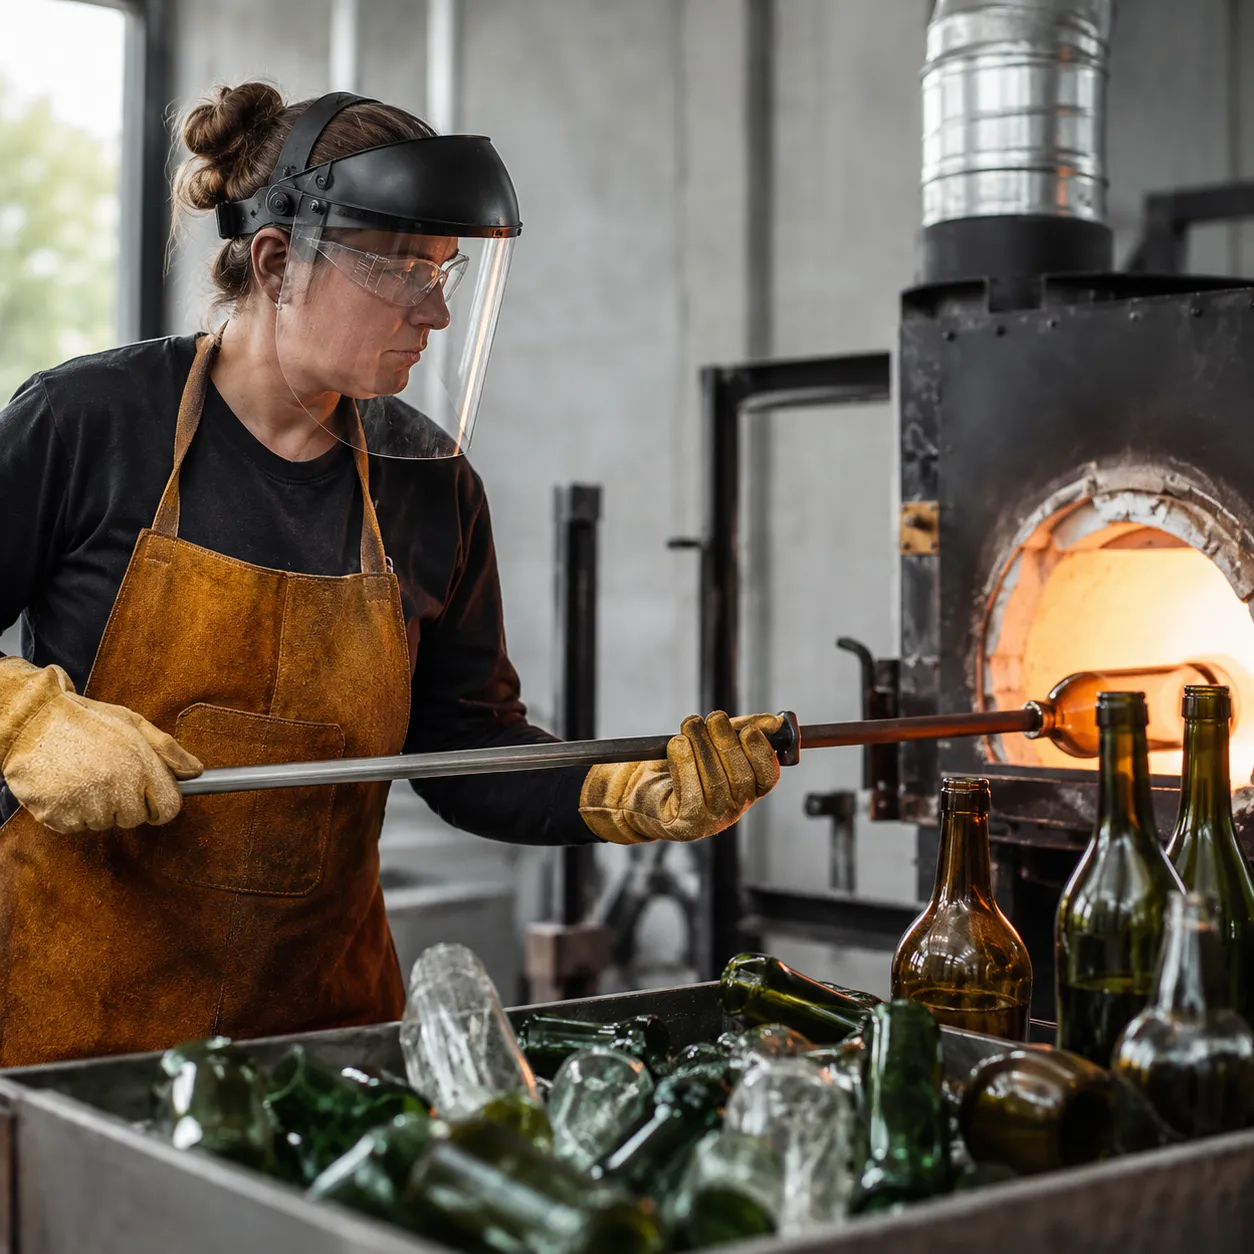
Essential Protective Gear
Protecting yourself means wearing the right gear from head to toe. Standard clothing will not cut it when dealing with molten material or fine glass dust.
-
- Eye Protection: Wear specialized IR/UV protective glasses (shade 3 or 5) when looking into a hot kiln, and rated safety goggles during cutting.
- Respiratory Safety: Use a well-fitting N95 or particulate respirator whenever you handle kiln wash, fiber paper, or when cutting and grinding bottles. Glass dust causes permanent lung damage.
- Hand and Body Armor: Heavy-duty, heat-resistant Kevlar gloves are mandatory for handling warm components. Wear long-sleeved shirts and pants made strictly from 100% natural fibers like cotton or denim. Synthetic fabrics will melt onto your skin if they catch a stray spark.
Ventilation and Workspace Setup
Your kiln needs a dedicated, stable home. Set up your melting station on a non-flammable surface, such as concrete or metal, keeping it at least three feet away from any walls or combustible materials.
Proper ventilation is crucial. As glass bottles heat up, paper labels, leftover adhesive residues, and kiln primers burn off, releasing toxic fumes and heavy smoke. Always run your kiln in a well-ventilated workshop, garage, or dedicated studio space equipped with an active exhaust fan to pull contaminated air directly outside.
Preventing Thermal Shock and Glass Explosions
Thermal shock happens when glass experiences a rapid, uneven temperature change, causing it to crack or shatter violently. To prevent glass explosions inside or outside your equipment, you must control how fast the material heats up and cools down.
Never rush the process. Heating a bottle too fast causes the outer layers to expand quicker than the interior, leading to structural failure. Similarly, opening a kiln door too early introduces a rush of cool air that can instantly shatter your finished pieces. Whether you are creating custom home decor or working on industrial designs, mastering the firing schedule is the only way to keep your glass intact.
Step-by-Step Guide to Melting Glass Bottles
Melting glass bottles into flat serving trays, unique bowls, or art pieces requires a precise, controlled environment. Following a structured firing schedule ensures the glass morphs correctly without cracking. If you need to resize your material before starting, learning how to cut a glass bottle is an essential prerequisite for successful kiln preparation.
Step 1: Preparing the Bottles and Kiln Molds
Clean the bottles thoroughly to remove labels, glue, and residue. Any leftover adhesive will burn and leave permanent, ugly scars on the finished glass.
Apply a high-quality kiln wash or glass separator to your ceramic or metal molds. This prevents the hot, molten glass from sticking permanently to the mold surface. Let the kiln wash dry completely before moving to the next step.
Step 2: Loading the Glass Into the Kiln
Place the prepared mold flat onto the kiln shelf. Balance the glass bottle carefully on top of or inside the mold.
-
- Avoid touching elements: Ensure the bottle sits far enough away from the kiln heating elements to prevent localized overheating.
- Allow for expansion: Leave enough space around the mold, as the glass will spread out slightly as it softens and slumps under intense heat.
Step 3: Firing and Ramping the Temperature
Glass must be heated slowly to prevent thermal shock. You will control the ramp rate—the speed at which the kiln temperature rises—according to a strict schedule.
| Firing Phase | Temperature Range | Action / Description |
|---|---|---|
| Initial Heat | Room Temp to 1000°F (538°C) | Ramp slowly at 300°F per hour to avoid cracking. |
| Soaking Phase | 1000°F to 1300°F (704°C) | Hold for 20 minutes to equalize internal glass temperatures. |
| Slumping / Melting | 1300°F to 1450°F (788°C) | The glass softens and takes the shape of the mold. |
Step 4: The Annealing Process Explained
Annealing is the absolute most critical phase when you fire glass. Once the bottle has slumped into the mold, drop the temperature rapidly to the annealing zone, which is generally around 960°F (515°C) for standard soda-lime beer bottles and wine bottles.
Hold the kiln at this exact temperature for at least 30 to 60 minutes. This soaking period relieves the internal stress accumulated during the melting process. Skipping this step guarantees the glass will shatter spontaneously later.
Step 5: Cooling and Finishing Your Glass
After the annealing soak, turn off the heating elements and let the kiln cool down completely naturally. Do not open the kiln door until the internal temperature drops below 100°F (38°C). Opening the door early introduces cold air, causing immediate thermal shock and ruining your work. Once completely cool, remove your newly formed glass piece and rinse off any residual kiln wash.
Common Troubleshooting Issues and Solutions
Even with careful planning, melting glass bottles can sometimes throw you a curveball. Working with recycled glass takes practice, but most firing failures come down to a few common culprits. Here is how to diagnose and fix them.
Why Did My Melted Glass Crack?
Cracking is almost always caused by thermal shock or stress within the glass. Because beer bottles and other commercial containers are not originally made for fusing, they are highly sensitive to temperature shifts.
-
- Cooling Too Fast: If your glass cracks in straight lines across the piece, it likely cooled too quickly during the hazardous cooling phase. You must slow down your cooling rate, especially between 1,000°F and 700°F.
- Thermal Shock During Heating: Sharp, jagged cracks that happen early in the cycle mean the kiln heated up too fast. Slow down your initial ramp rate.
- Incompatible Glass: Fusing two different types of bottles together will cause them to shatter as they cool. Every bottle has a unique Coefficient of Expansion (COE). Unless you are certain the bottles share the exact same COE, melt them individually.
How to Avoid Over-Firing and Devitrification
Over-firing changes the texture of your project, while devitrification leaves a cloudy, dull, or scummy white residue on the surface of your beautiful slumped bottles.
-
- Watch the Temperature: Over-firing happens when the kiln gets too hot or stays at peak temperature for too long. The glass will lose its shape entirely, pooling out into a thin, featureless puddle rather than a clean, slumped form.
- Preventing Devitrification: This white crystallization happens when glass is held too long at temperatures where crystals love to grow (between 1,300°F and 1,450°F). Advance through this temperature zone quickly on the way up and the way down.
- Keep It Clean: Dirt, fingerprints, and leftover adhesive labels trigger devitrification. Scrub your glass thoroughly with water and rubbing alcohol before loading the kiln.
Tips for Maintaining Your Kiln
Your kiln is the heart of your glass melting setup. Proper maintenance ensures consistent firings and extends the life of your equipment.
-
- Apply Kiln Wash Regularly: Always protect your floor and molds with a high-quality kiln wash or separator. This prevents molten glass from permanently sticking to and ruining your equipment.
- Vacuum the Interior: Glass dust, flaking kiln wash, and bits of fiber paper accumulate over time. Gently vacuum the inside of your kiln regularly to keep debris from landing on your hot glass projects.
- Inspect the Elements: Check the heating coils for sagging or breaks. Uneven heating leads to unpredictable firing cycles and broken glass.
Creative Project Ideas for Melted Bottles
Transforming old glass into beautiful, functional items is a fantastic way to practice sustainability while unleashing your creativity. Whether you collect empty beer bottles or source wine bottles in bulk, the slumping process breathes new life into everyday waste. Below are some of the most popular and practical projects you can create using a kiln and a mold.
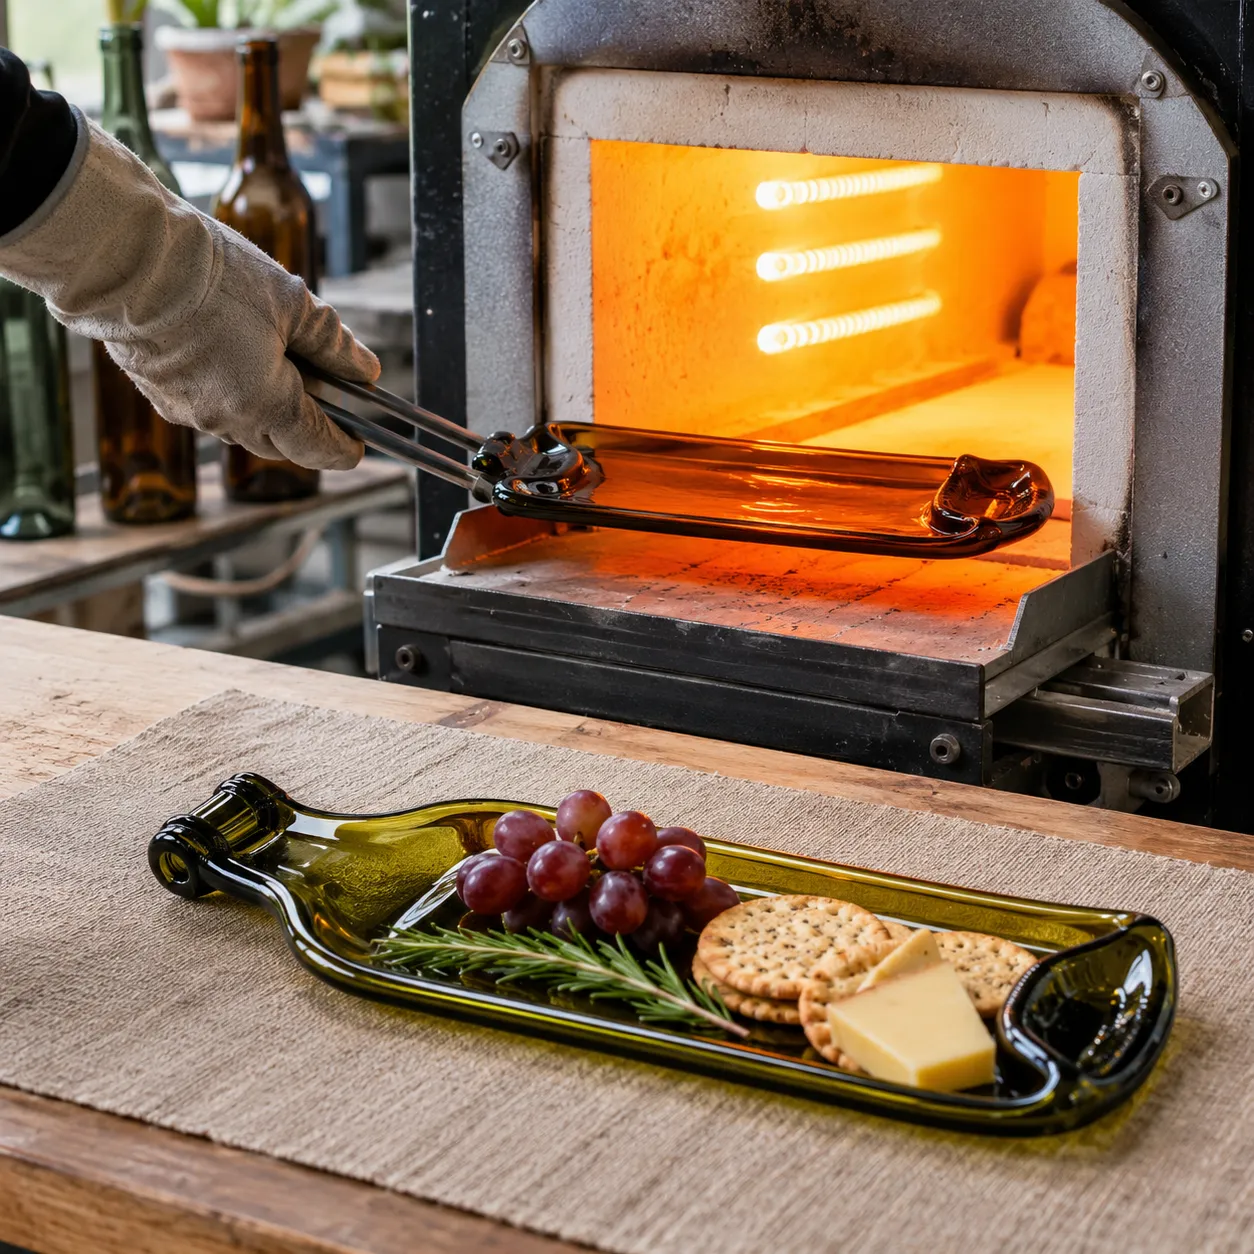
DIY Serving Trays and Cheese Boards
Flat-slumped wine and beer bottles make striking, eco-friendly serving trays and cheese boards. By heating the glass until it collapses into a smooth, level plane, you create a durable surface that is perfect for entertaining.
-
- Design Tip: Leave the neck and wire wrap intact for a rustic handle.
- Serving Idea: Pair these upcycled boards with our round borosilicate glass food jar with bamboo lids and spoon to eleganty display gourmet spreads, nuts, or condiments alongside your cheeses.
Custom Spoon Rests and Soap Dishes
Using textured or gently curved molds during the firing process allows you to shape melted bottles into highly practical kitchen and bathroom accessories.
-
- Spoon Rests: A slightly indented bottle body prevents cooking utensils from making a mess on your countertops.
- Soap Dishes: By using a textured kiln wash or a ridged mold, you can create raised lines on the glass that keep bar soap elevated and dry.
Upcycled Glass Jewelry and Wind Chimes
If you have broken bottles or smaller glass fragments, you can melt them completely into smooth gems or flat strips for decorative crafts.
-
- Wind Chimes: Cut bottle rings or slumped strips can be suspended from a driftwood base, creating a gentle, musical sound when the wind blows.
- Wearable Art: Small chunks of melted glass can be smoothed down and wire-wrapped to make unique pendants, rings, and earrings.
FAQs
Can you melt glass bottles in a standard kitchen oven?
No, you cannot melt glass bottles in a standard kitchen oven. Household ovens usually max out around 260°C (500°F), whereas bottle slumping and melting require a kiln that can reach temperatures between 700°C and 815°C (1,300°F to 1,500°F). Attempting to use a home oven will not alter the glass shape and poses a fire hazard.
How long does it take to melt a glass bottle in a kiln?
The entire firing cycle typically takes between 8 to 12 hours. While the actual melting or slumping phase at peak temperature only lasts about 10 to 30 minutes, the ramp rate must be tightly controlled. The longest part of the process is the cooling and annealing phase, which safely brings the temperature down to prevent structural cracking.
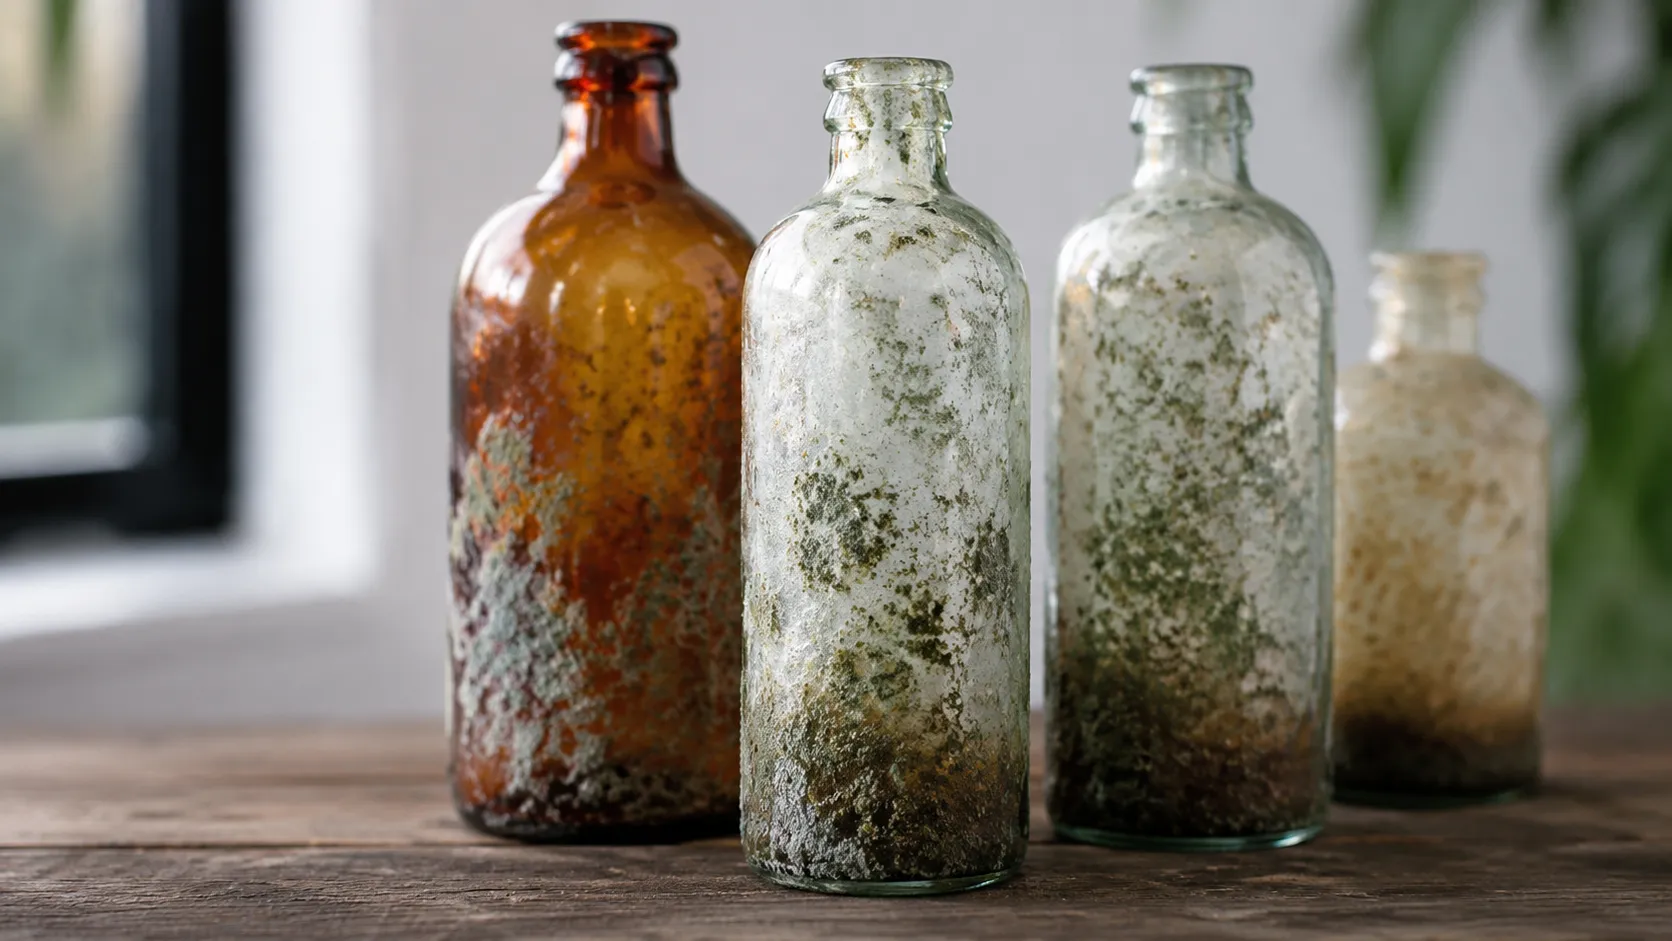
Why did my melted glass bottle turn cloudy?
Cloudiness on melted glass is usually caused by devitrification, which is the crystallization of the glass surface. This happens when the glass stays too long at high temperatures or if the bottle was not perfectly clean before firing. Thoroughly washing the bottles to remove labels and glue residue helps prevent this issue.
Can you melt different types of glass bottles together?
No, you should not mix different types of glass bottles in the same project unless you have tested their compatibility. Different bottles—like beer bottles, wine bottles, and soda bottles—often have different coefficients of expansion (COE). Forcing incompatible glass together causes severe internal stress, which leads to the glass shattering or cracking during the cooling process.